

Getting started
The first step to using VoiceMaster is to use thevoicemaster setup command.
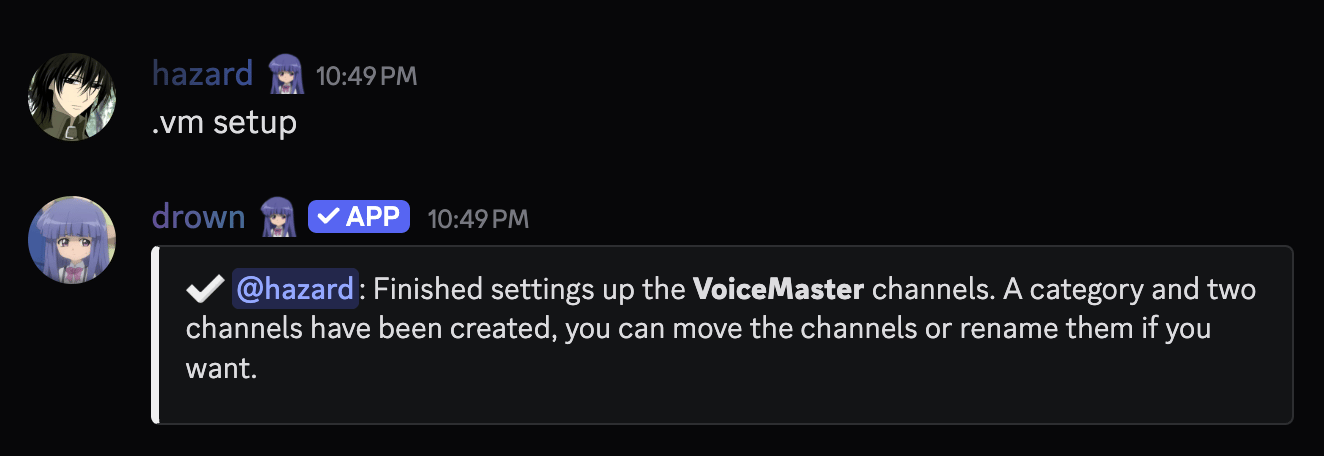
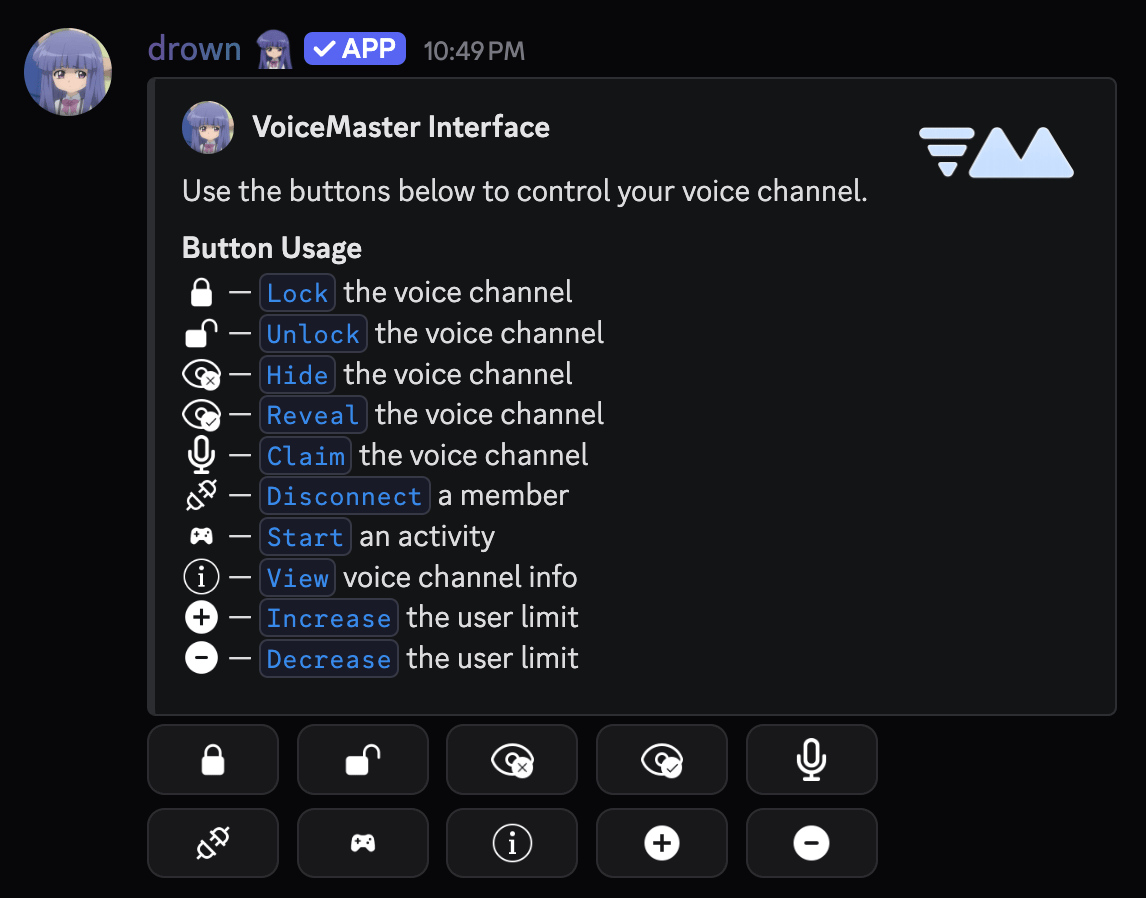
What is the interface channel?
The#interface channel will contain an embed with buttons that allow members to customize their temporary voice channel. This channel should be locked to keep the embed message at the top of the channel.
What is the Join to Create channel?
The Join to Create channel is where members will join to create their temporary voice channel. This channel is required for the VoiceMaster system to work.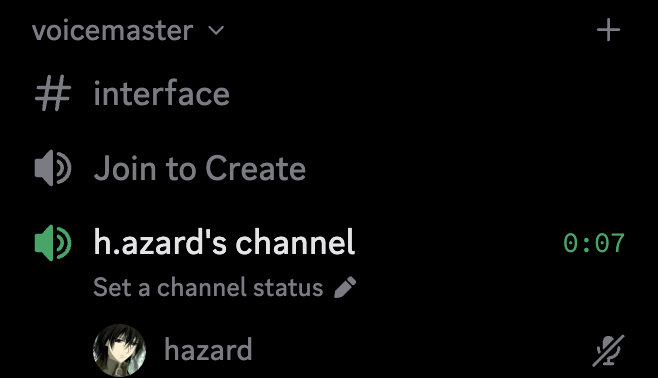
Customizing new voice channels
You can customize what the temporary voice channels look like when they’re created. The following commands are subcommands of thevoicemaster default command.
Redirecting voice channels
Redirecting voice channels
Redirect voice channels to a specific category.
Setting the default channel name
Setting the default channel name
Set the default name for temporary voice channels when they are created.
The name can use the
{user}, {user.name} and {user.display_name} variables.Setting the default channel bitrate
Setting the default channel bitrate
Set the default bitrate for temporary voice channels.
The bitrate must be between
8 and 384.Setting the default channel region
Setting the default channel region
Set the default region for temporary voice channels.
The region must be one of the following:
brazil, hongkong, india, japan, rotterdam, russia, singapore, south-korea, southafrica, sydney, us-central, us-east, us-south, us-westGranting a role to members
You can assign a role that members receive when they join a temporary voice channel, which is automatically removed when they leave. This is helpful if you want your#interface channel to be visible only to members currently in a temporary voice channel.
Setting up the permissions
If you’re interested in making your#interface channel only visible to members inside a temporary voice channel, you would need to set the permissions accordingly.
- Create a role named VoiceMaster (or whatever you prefer) and set it with
.voicemaster join role @VoiceMaster - In your
#interfacechannel settings, deny View Channel for@everyone - In your
#interfacechannel settings, allow View Channel for the VoiceMaster role
Customizing the interface
You can set a custom embed for your#interface channel using the voicemaster sendinterface command with an embed script.
You can use the following variables in your script, each one will be substituted with its corresponding button icon:
{lock}, {unlock}, {hide}, {reveal}, {claim}, {increase}, {decrease}, {information}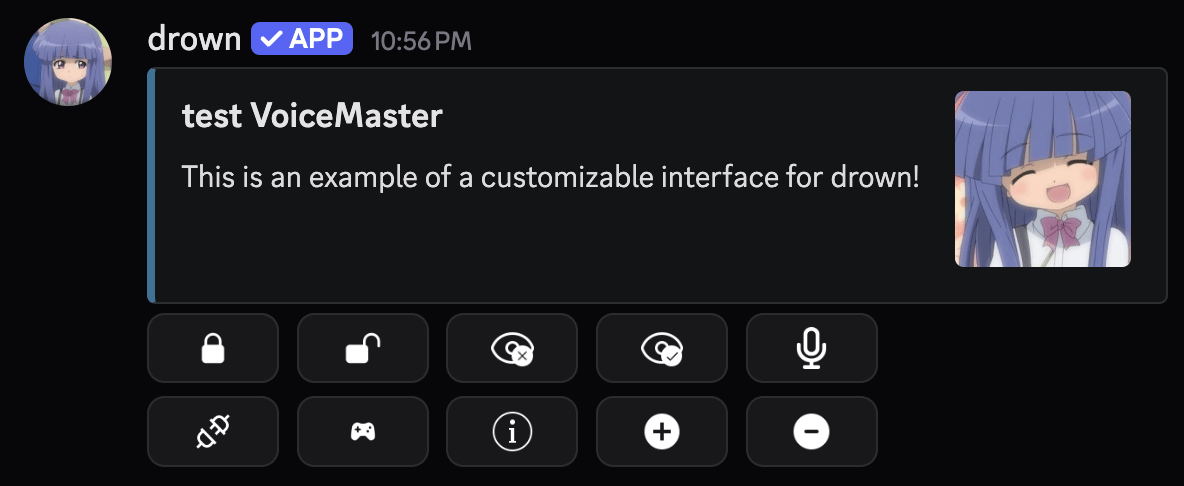
Customizing your voice channel
The following commands can be done via the#interface channel buttons or as direct commands.
Renaming your voice channel
You can use thevoicemaster rename command to change the name of your voice channel.
This command can only be used once every 10 minutes due to Discord’s channel rename rate limit.
Limiting the number of members
You can use thevoicemaster limit command to set a limit on the number of members that can join your voice channel.
Making your voice channel private
You can lock and hide your voice channel with the following commands.voicemaster lock— Prevents anyone from joining the voice channelvoicemaster unlock— Allows anyone to join the voice channelvoicemaster ghost— Hides the voice channel from the channel listvoicemaster unghost— Reveals the voice channel in the channel list
Permitting members to join
You can use thevoicemaster permit command to allow specific members or roles to join your voice channel.
Granting a role to members in your voice channel
You can use thevoicemaster role command to set a role that members will receive when they join your voice channel.
You must have the Manage Roles permission to use this command.
Related commands
Claiming ownership
Claiming ownership
If the owner of a voice channel leaves, you can use the
voicemaster claim command to take ownership of the voice channel.Transferring ownership
Transferring ownership
You can use the
voicemaster transfer command to transfer ownership of a voice channel to another member.Setting the channel as a music channel
Setting the channel as a music channel
You can use the
voicemaster music command which will prevent members from speaking in the voice channel, making it music-only.